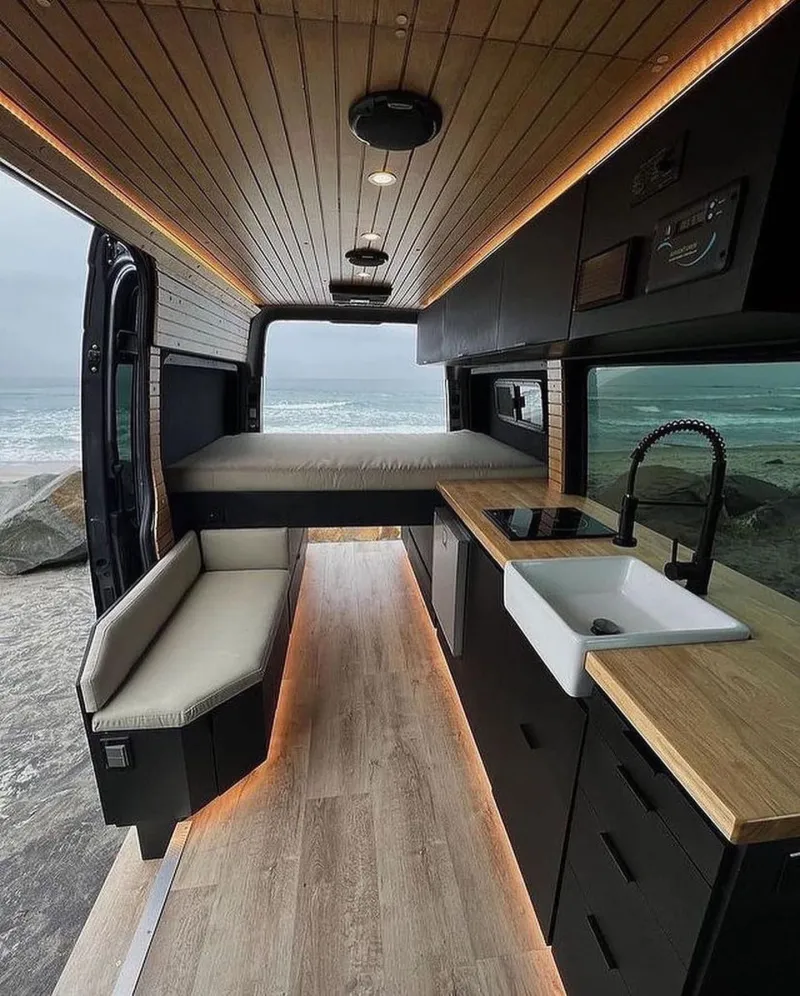
Cold-Weather Van Life: How to Actually Stay Warm When Temperatures Drop
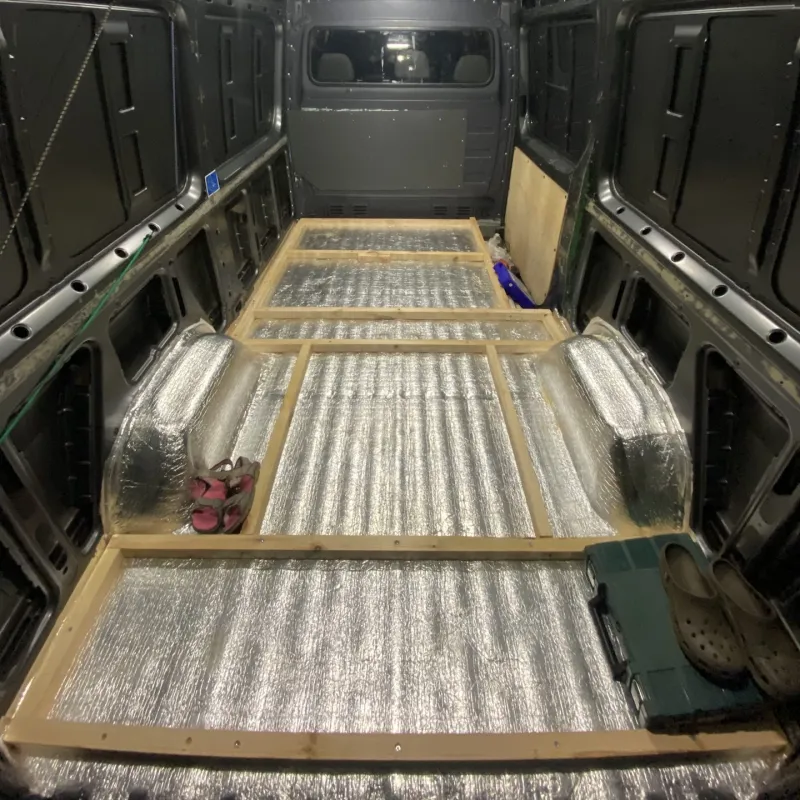
Photo: van interior insulation foam winter build conversion, via madeforride.files.wordpress.com
The Season That Separates the Prepared from the Frozen
November rolls around, and your Instagram feed fills up with van lifers parked in snowy forests, wool blankets draped over their laps, mugs of something warm in hand. It looks effortless. But talk to anyone who's spent a genuine winter in a poorly insulated van — in Minnesota, Colorado, or the Pacific Northwest — and the story gets a lot less picturesque.
Cold weather is the true stress test of a van build. It exposes every shortcut, every skipped thermal break, every underspecified heating system. And the damage it causes — condensation-soaked walls, moldy insulation, frozen water lines — can be expensive and demoralizing to fix.
The good news: a properly built van handles cold weather remarkably well. Here's what that actually looks like.
Start With Insulation — And Don't Cheap Out
Insulation is the foundation of every cold-weather build, and the material you choose matters more than most people realize going in.
Spray foam is the gold standard for sealing the metal shell of a van. It fills gaps, bonds directly to the metal, and creates an air-tight thermal barrier that rigid materials simply can't match in irregular spaces. Closed-cell spray foam, specifically, has a high R-value per inch (around R-6 to R-7) and acts as a vapor barrier, which is critical for moisture control. The downside: it's messy, permanent, and either expensive to have professionally applied or time-consuming to DIY.
Rigid foam board — polyiso or XPS — is the workhorse choice for flat surfaces like walls and ceiling panels. It's affordable, easy to cut, and offers solid R-values when layered properly. The challenge is fitting it cleanly around the ribs and curves of a van interior, which leaves thermal bridges if you're not careful.
Many experienced builders use a hybrid approach: spray foam in the cavities, ribs, and hard-to-reach areas, then rigid foam panels over the flat surfaces. It's more work upfront, but the thermal performance is noticeably better.
Avoid fiberglass batts. They're common in home construction but a poor choice for vans — they absorb moisture, lose R-value when wet, and can become a mold factory inside a metal shell with temperature swings.
For the floor, don't skip it. Foam board under your subfloor, combined with a thermal break between the subfloor and the van's metal floor, makes a real difference when you're parked on frozen ground.
Heating Solutions That Actually Work
A space heater plugged into shore power is not a heating strategy. It's a way to get through one night before you run out of electricity or patience.
For serious cold-weather van life, you need a dedicated heating system designed for the job.
Diesel heaters — brands like Webasto, Espar, and the widely used Chinese-made units sold under various names — are the most popular choice in the van life community for good reason. They burn diesel from your vehicle's fuel tank (or a separate tank), produce consistent heat, run quietly, and consume surprisingly little fuel. A quality unit can keep a well-insulated van comfortable at 0°F while burning less than half a liter of fuel per hour. They're not cheap — expect $500 to $2,500 depending on brand and quality — but they're reliable and don't drain your electrical system.
Propane heaters like the Mr. Heater Buddy are popular for occasional use, but they produce combustion byproducts and significant moisture — two things you really don't want building up in an enclosed space. If you use one, ventilate aggressively and treat it as a backup, not a primary system.
Electric heating through a heat pump or ceramic heater can work if you're regularly plugged into shore power or have an exceptionally large battery bank. For most off-grid van lifers, it's simply not practical as a primary heat source in genuine cold.
Size your heater for your space and your climate. A 2kW diesel unit is sufficient for most full-size vans in most US winter conditions. If you're regularly camping in the northern Rockies or the Upper Midwest, go bigger or add a secondary source.
Moisture Is Your Real Enemy
Here's the thing most first-time winter builders don't fully appreciate: moisture is more destructive than cold. When warm air from your breath, cooking, and body heat hits the cold metal walls of your van, it condenses. Do that repeatedly over weeks and months without proper management, and you've got mold growing in your walls, wet insulation, and potentially rotting wood.
The fix is a combination of strategies:
Vapor barriers on the cold side of your insulation prevent warm, moist interior air from reaching the metal shell. Closed-cell spray foam handles this automatically. If you're using rigid foam, you'll need to be deliberate about sealing seams.
Ventilation is non-negotiable. A quality roof fan — the Maxxair or Fan-Tastic Vent brands are staples in the community — should run on low even in cold weather to exhaust humid air. Many builders run theirs 24/7 in winter. Yes, it costs a little heat. It saves your build.
Behavioral habits matter too. Cook with lids on pots, crack a window when doing anything that generates steam, and wipe down condensation on windows before it migrates to your walls.
Real Builder Experiences
Builders who've done cold-weather van life successfully tend to share a few common threads. They didn't skip the spray foam in the ribs. They sized their diesel heater slightly larger than they thought they needed. And they installed roof ventilation before their first winter, not after.
The builders who regret it? They went with the cheapest insulation they could find, assumed a propane heater would be enough, and skipped the roof vent because it was cold and they didn't think they'd need airflow. By February, they were dealing with mold behind their panels and a van that smelled like a wet basement.
The cost difference between a properly cold-weather-built van and a summer-only build is real — plan on an extra $1,500 to $4,000 depending on your choices — but it's a fraction of what you'll spend tearing out damaged materials and starting over.
Build It Once, Build It Right
Winter van life is genuinely wonderful when your rig is ready for it. Waking up in a warm, dry van while snow falls outside a frosted window is one of the better experiences the lifestyle has to offer.
But that experience is earned through good decisions made during the build — not by winging it with a space heater and a sleeping bag rated for 40°F. Insulate thoroughly, heat with intention, and manage moisture like it's your job. Because in winter, it kind of is.